
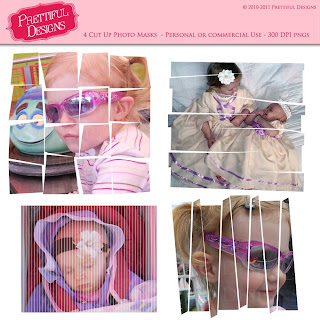
People ask me all the time how to use Photo Masks, also known as clipping masks. No idea what I am talking about? Here are some examples. (tutorial below)


Instructions are for use in photoshop and photoshop elements.
Step 1. Open your document.
Step 2. Open the photo mask you want and drag it to your main document
Step 3. Open your picture and drag it to the main document.
Step 4. In the layers menu make sure your layers look something like this with your picture above the photo mask:

Step 5. With your picture selected hold down your Alt key and hover between your photo and photo mask in the layers menu. When the cursor changes to an image that looks like an open circle on top of a filled circle CLICK.
Step 6. Your photo should now be clipped to the shape of the photo mask.

Brilliant huh? I love this feature. It was like turning on a light bulb in a pitch black room when I learned how to use these. Hope you love your new knowledge too!
Isn't that pink marshmallow cute too? And yes, the contraption in the background IS a medieval catapult called a trebuchet....in case you were wondering. :)
beautiful masks! thanks for the wonderful tutorial and chance to win!
ReplyDeleteThis is a nice tutorial, thank you! I love your designs!
ReplyDelete